Flyway Migrations
Control Center provides a simple way to set up Flyway migrations to initialize a database. This guide walks through the steps to configure Flyway migrations for a Vaadin application using Control Center.
Control Center Starter
Add the Control Center Starter to your project if it isn’t already. Ensure that the Flyway PostgreSQL dependency is also included in your project.
Source code
pom.xml
<dependency>
    <groupId>com.vaadin</groupId>
    <artifactId>control-center-starter</artifactId>
</dependency>
<dependency>
    <groupId>org.flywaydb</groupId>
    <artifactId>flyway-database-postgresql</artifactId>
    <scope>runtime</scope>
</dependency>
Once these dependencies are added and the Database feature is enabled, any migrations found in the migration directory are automatically detected and applied to the database when the application starts.
For more information about how to setup Flyway in an application, see the Add Flyway page.
|
Note
| The Database feature must be enabled in order for Flyway migrations to be applied to the Control Center-managed database. If the Database feature is not already enabled, it can be done during the deployment of an application or for an application that is already deployed. |
Migration Files
Flyway migrations are SQL scripts that define the changes to be applied to a database schema. These scripts should be placed in the src/main/resources/db/migration directory of your project. The naming convention for migration files is V<version>__<description>.sql, where <version> is a version number and <description> is a brief description of the migration.
For example, a migration file to create a users table might be named V1__Create_users_table.sql. The contents of the file could look like this:
Source code
sql
CREATE TABLE users (
    id SERIAL PRIMARY KEY,
    username VARCHAR(50) NOT NULL,
    password VARCHAR(50) NOT NULL
);
INSERT INTO users (username, password) VALUES ('admin', 'admin');
Multiple migration files can be created, and Flyway applies them in order based on their version numbers. Ideally, each migration file should contain a single change to the database schema, such as creating a table, adding a column, or modifying data.
More information about Flyway migration files can be found in the Flyway documentation.
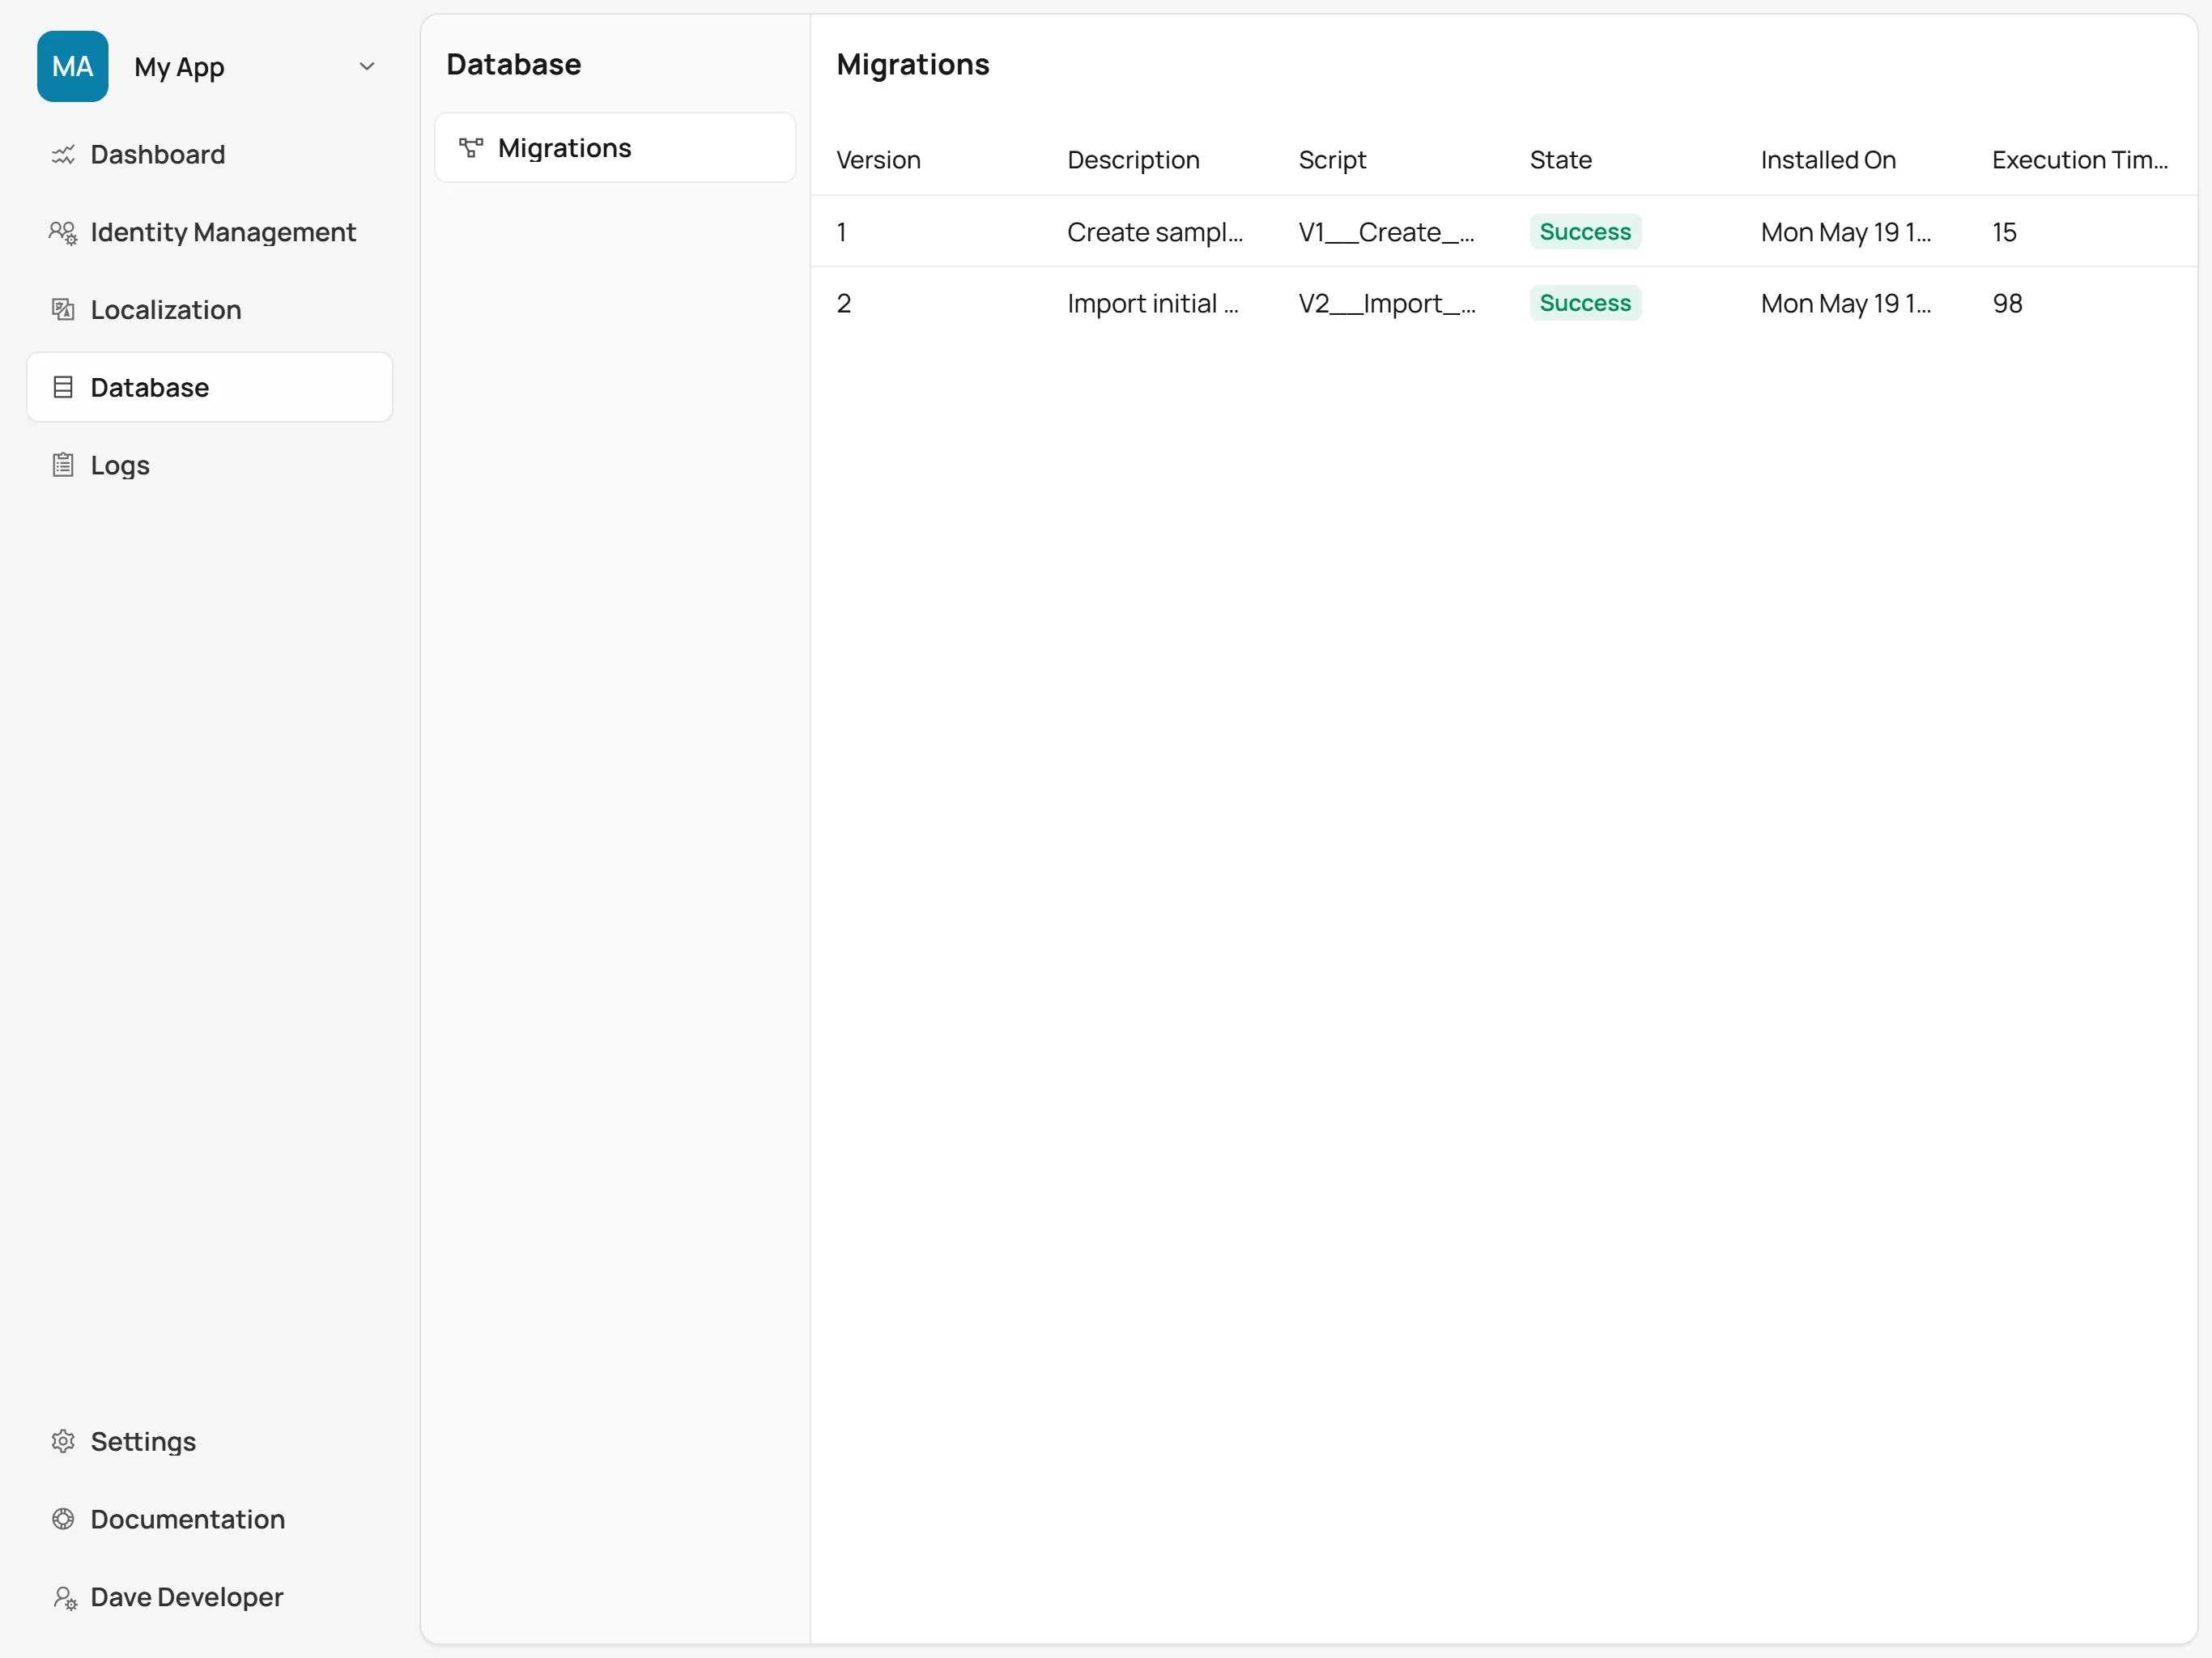
Viewing Migration Status
You can view the status of Flyway migrations in the Control Center UI.
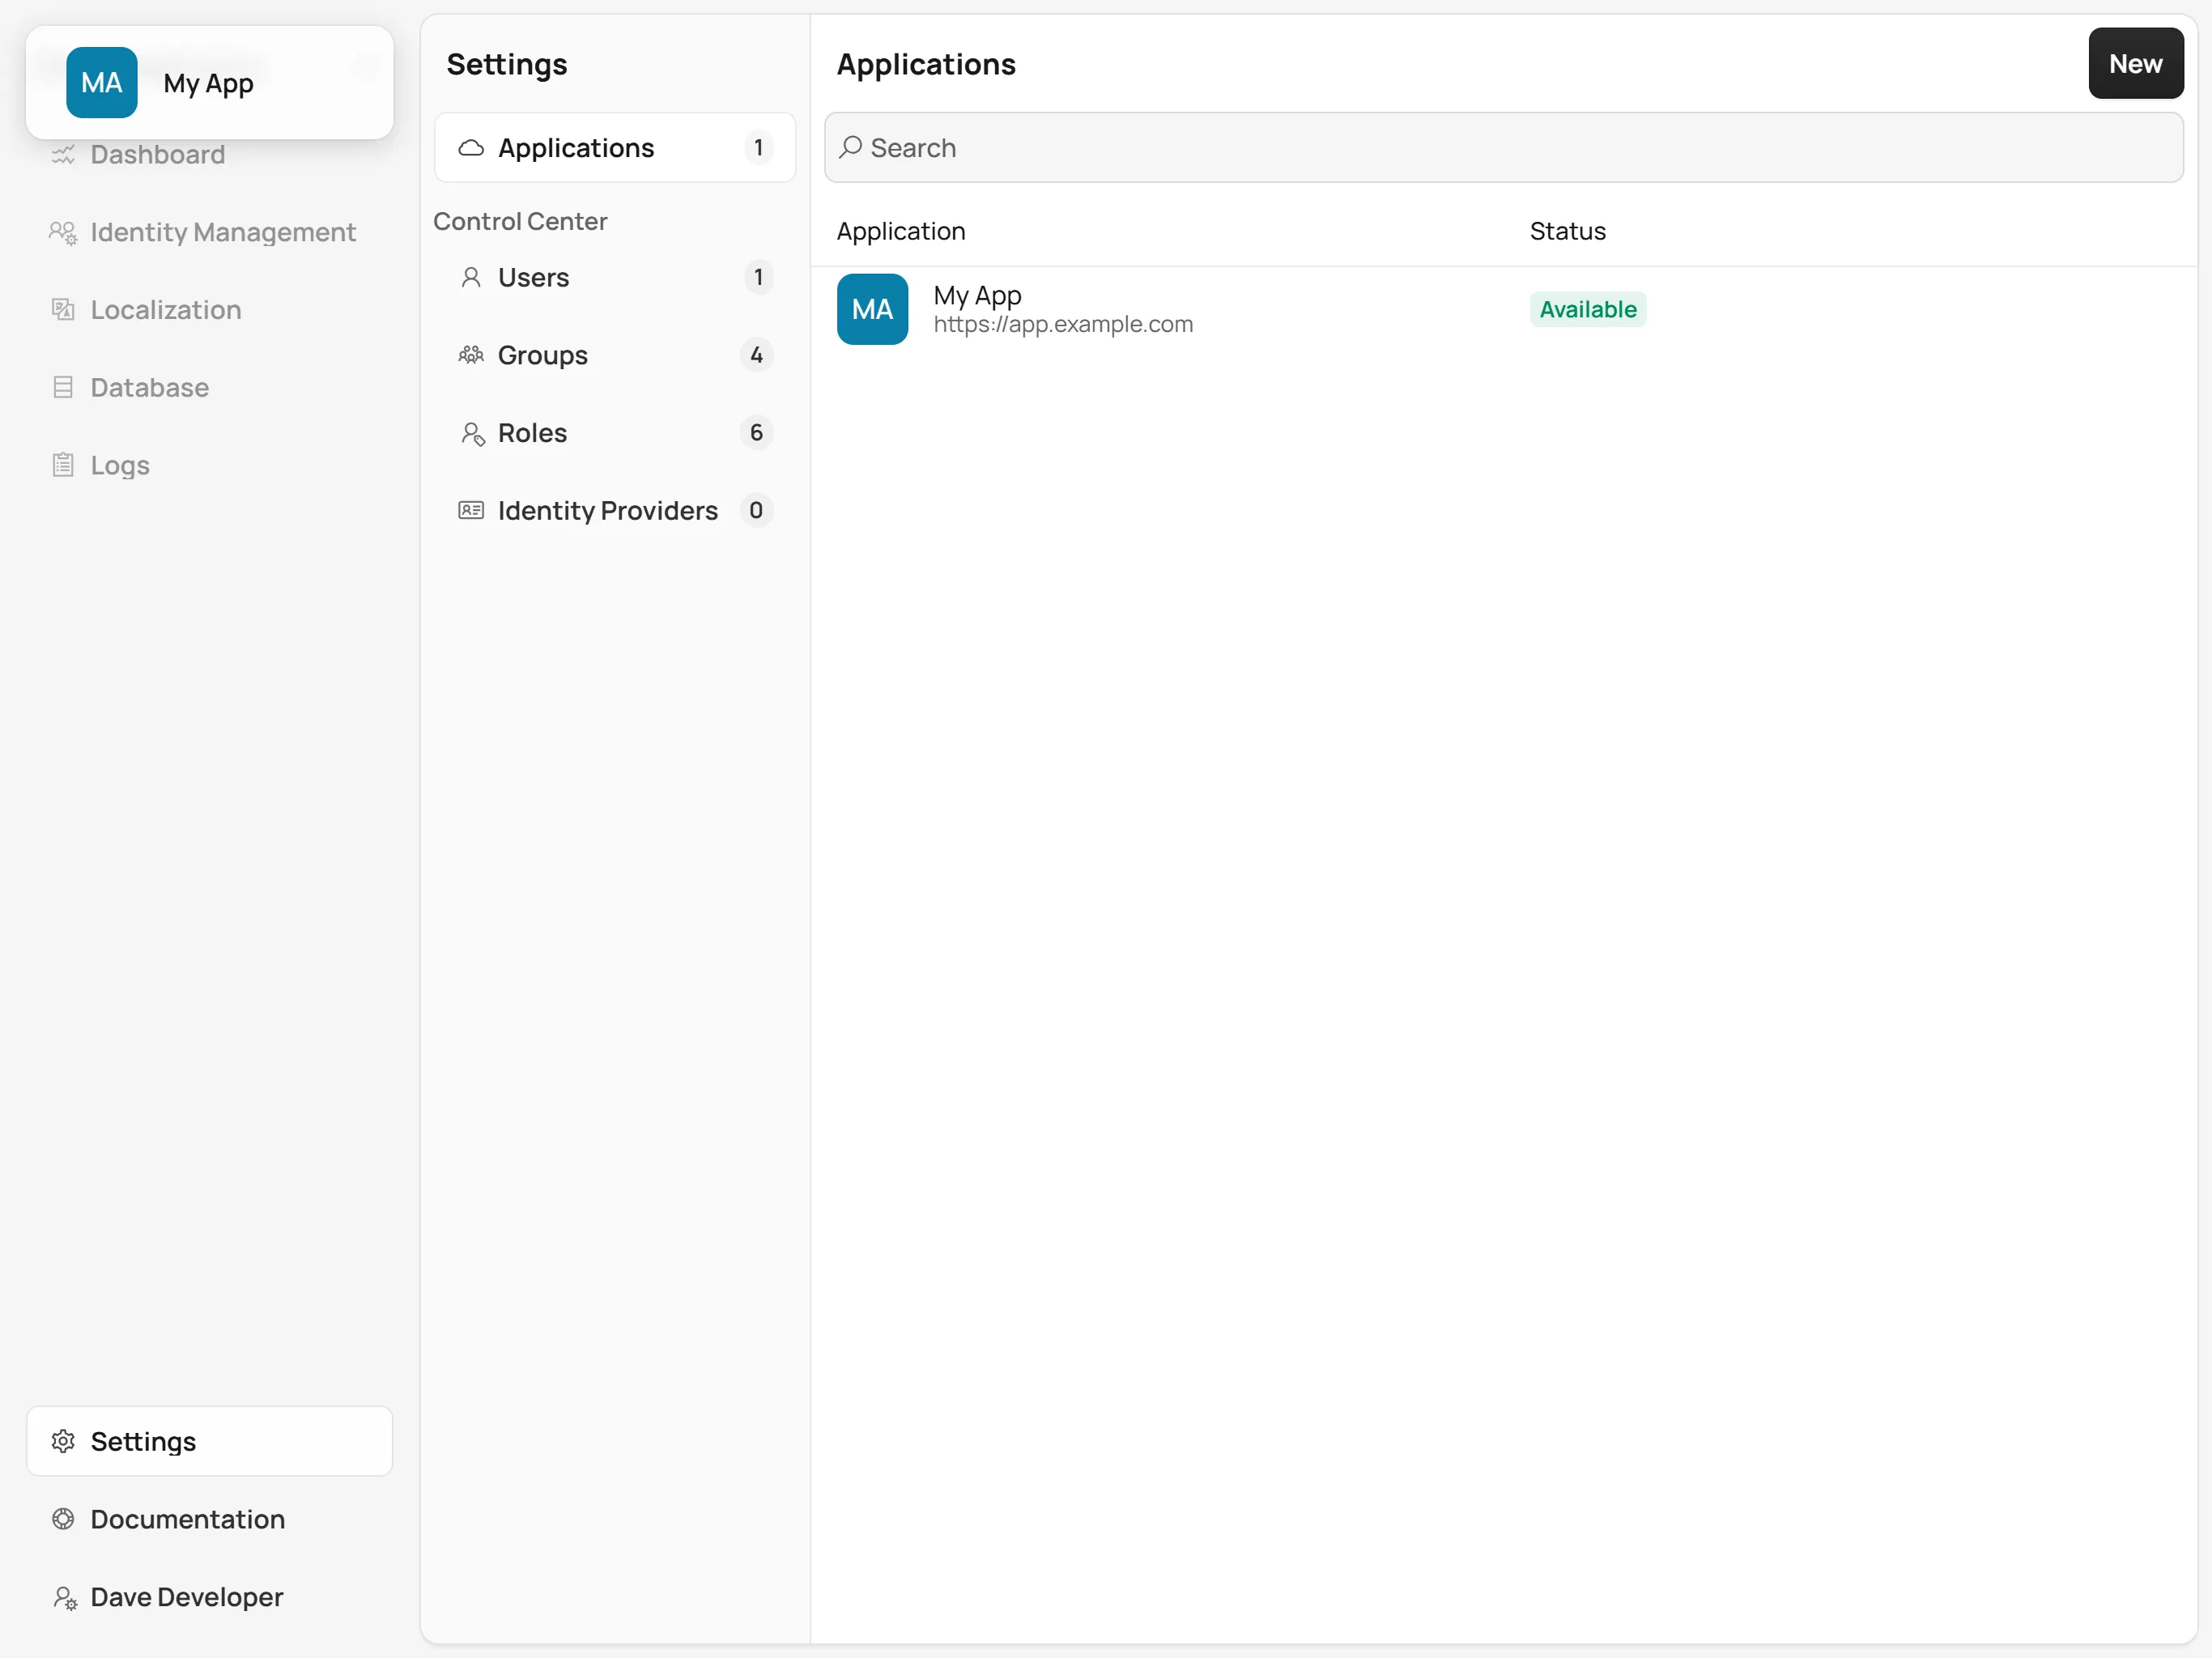
To view the details of the applied migrations, first select the relevant application from the Application Selector, as shown in the screenshot here.
Navigate to the Database section and select Migrations. This displays a list of all applied migrations, including their version numbers and descriptions. It also shows the status of each migration, indicating whether it was successful or failed. If a migration fails, review the migration scripts for errors and redeploy the application when they are fixed.