Add a View
- Copy-Paste into Your Project
- What Is a View?
- Creating Views
- View Naming
- Route Aliases
- Page Title
- Navigation Menu Item
In this guide, you’ll learn how to create and name views in Java, assign multiple routes to a single view, and organize views into Java packages.
Copy-Paste into Your Project
If you want to quickly try out a view in your Vaadin application, copy-paste the following code into a new Java class named HelloWorldView in your project’s main package:
Source code
HelloWorldView.java
For more detailed instructions on how to add a view, continue reading below.
What Is a View?
In a Vaadin application, a view is a user interface component that forms a logical whole of the user interface. A page can contain other components than a view, but only one view at a time. Typically, the view takes up most of the page.
Views or Routes?
Each view is associated with its own URL path. When the user navigates from one view to another, the URL of the page changes. The mapping between a URL path and a view is called a route, where the view is the target of the route.
All routes must be unique to allow the routing logic to determine the view to render without any disambiguation. When conflicts are detected, the application fails to start and logs a message explaining the reason for the conflict.
The main view of an application is mapped to the root path (""). It is sometimes also called the root view.
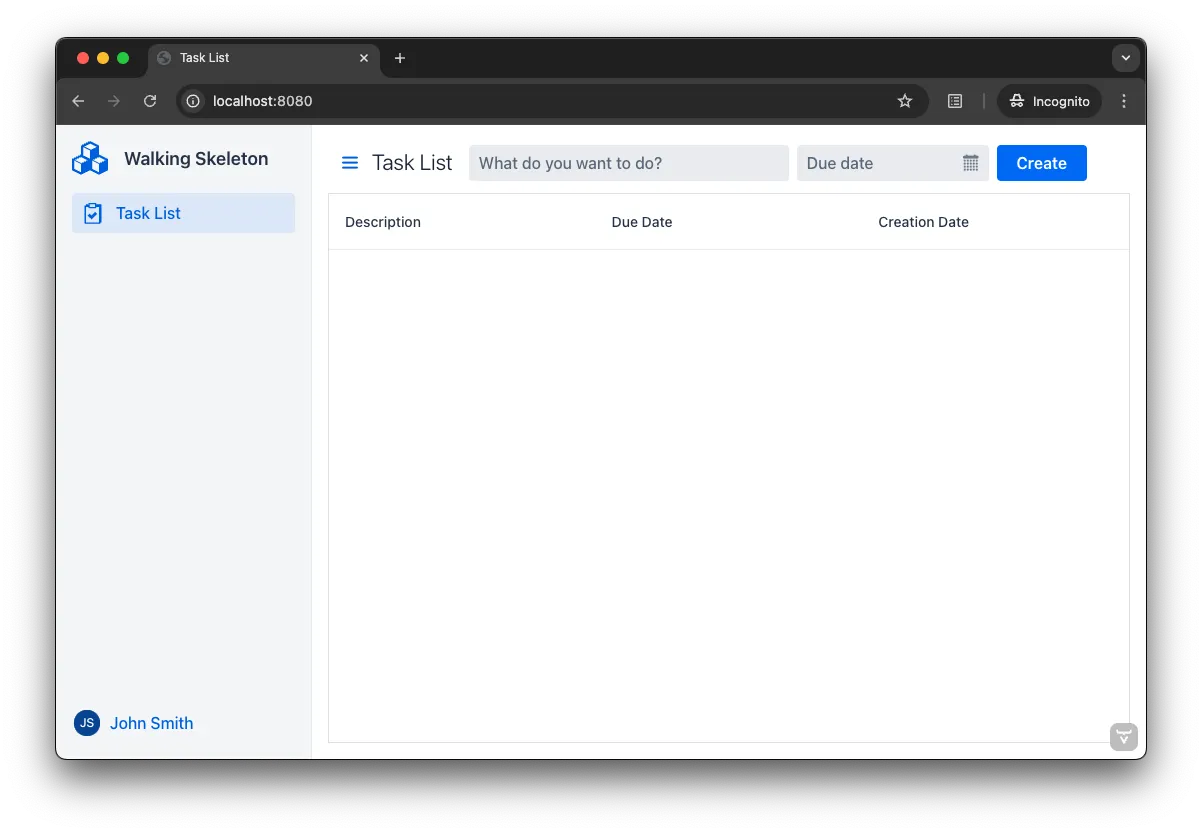
Creating Views
Vaadin views are Java classes that are annotated with @Route and extend com.vaadin.flow.component.Component — or any of its subclasses. The default parameter of the @Route annotation is the path of the view.
For example, you can define the HelloWorld component as the main view like this:
Source code
Java
@Route("")
public class HelloWorld extends Div {
    public HelloWorld() {
        setText("Hello world");
    }
}
If the application is running from the root context, users would be able to access this view by navigating to https://example.com.
Likewise, you can define the CustomerListView component as the target for the customer/list route:
Source code
Java
@Route("customer/list")
public class CustomerListView extends Main {
    public CustomerListView() {
        //...
    }
}
Users would be able to access this view by navigating to https://example.com/customer/list.
|
Note
|
Don’t include a leading / when you specify the path of a view.
|
Navigation between views is covered in more detail in the Navigate to a View guide.
|
Tip
|
Which Package to Put Views In?
For information about package structures for Vaadin applications, see the Package Structure architecture deep-dive.
|
View Naming
If you do not specify a default parameter for @Route, the path is derived from the name of the view. The derived name is the class name in lower case, with the View suffix removed if there is one. Also, MainView and Main are mapped to root.
For example:
-
MyEditorbecomes"myeditor" -
PersonViewbecomes"person" -
MainViewbecomes""
If you specify the path explicitly, you can name your views any way you like.
Route Aliases
You can create multiple routes that target the same view. You do this with the @RouteAlias annotation.
For example, you can map https://example.com, https://example.com/home, and https://example.com/main to HomeView like this:
Source code
Java
@Route("")
@RouteAlias("home")
@RouteAlias("main")
public class HomeView extends Div {
    public HomeView() {
        //...
    }
}
Whenever you use route aliases, you have to create a primary route by using the @Route annotation. Only adding @RouteAlias to a view does not work.
Page Title
By default, Vaadin views do not set a page title. You can define the page title either declaratively or dynamically.
Declarative Page Title
To set a page title declaratively, use the @PageTitle annotation:
Source code
Java
@Route("")
@PageTitle("Home Page")
public class HomeView extends Div {
    public HomeView() {
        //...
    }
}
Dynamic Page Title
To set the page title dynamically, implement the HasDynamicTitle interface:
Source code
Java
@Route("")
public class HomeView extends Div implements HasDynamicTitle {

    public HomeView() {
        //...
    }

    @Override
    public String getPageTitle() {
        return "Home Page";
    }
}
The title is determined when the router navigates to the view. Any changes made after navigation will not affect the title.
|
Important
|
A view cannot use both the @PageTitle annotation and implement the HasDynamicTitle interface simultaneously.
|
Navigation Menu Item
Most business applications include a navigation menu. This menu can be generated dynamically using Vaadin’s MenuConfiguration. To make a view appear in the menu, add the @Menu annotation:
Source code
Java
@Route()
@Menu(title = "Dashboard", order = 1, icon = "vaadin:dashboard")
public class DashboardView extends Main {
    public DashboardView() {
        //...
    }
}
The @Menu annotation has the following attributes:
title-
The menu title. Defaults to the page title if not specified.
order-
Determines the menu item’s position. Items with a defined order appear above unordered items.
icon-
Specifies the menu icon. This is a string, allowing flexibility in interpretation. It could be an Icon name or an SVG source, depending on the menu implementation.
For more information on building a navigation menu, see Add a Navigation Menu.