Get the Application Up and Running
Adding the Route to the Main View
We previously created a main-view design with a companion Java file.
Now we need to make the view accessible by adding the @Route annotation to the companion Java file.
-
Expand the
src/main/java/com.example.applicationpackage and openMainView.java. -
Add the
@Route("")annotation at the beginning of theMainViewclass.
Your MainView class should now look like this:
Source code
MainView.java
MainView.java@Tag("main-view")
@JsModule("./src/views/main-view.ts")
@Route("")
public class MainView extends LitTemplate {
public MainView() {
}
}The @Route annotation maps http://localhost:8080/ to MainView.
Running the Project
Next, we run the project to see what the new layout will look like.
The easiest way to run the project for the first time is to:
-
Open the
ApplicationJava class insrc/main/java/com/example/application/Application.java -
Click the green play button next to the line which starts with
public class Application.
This starts the application and automatically adds a run configuration for it in IntelliJ IDEA. Later, when you want to run or restart the application, you can build, run/restart, stop and debug the application from the toolbar:
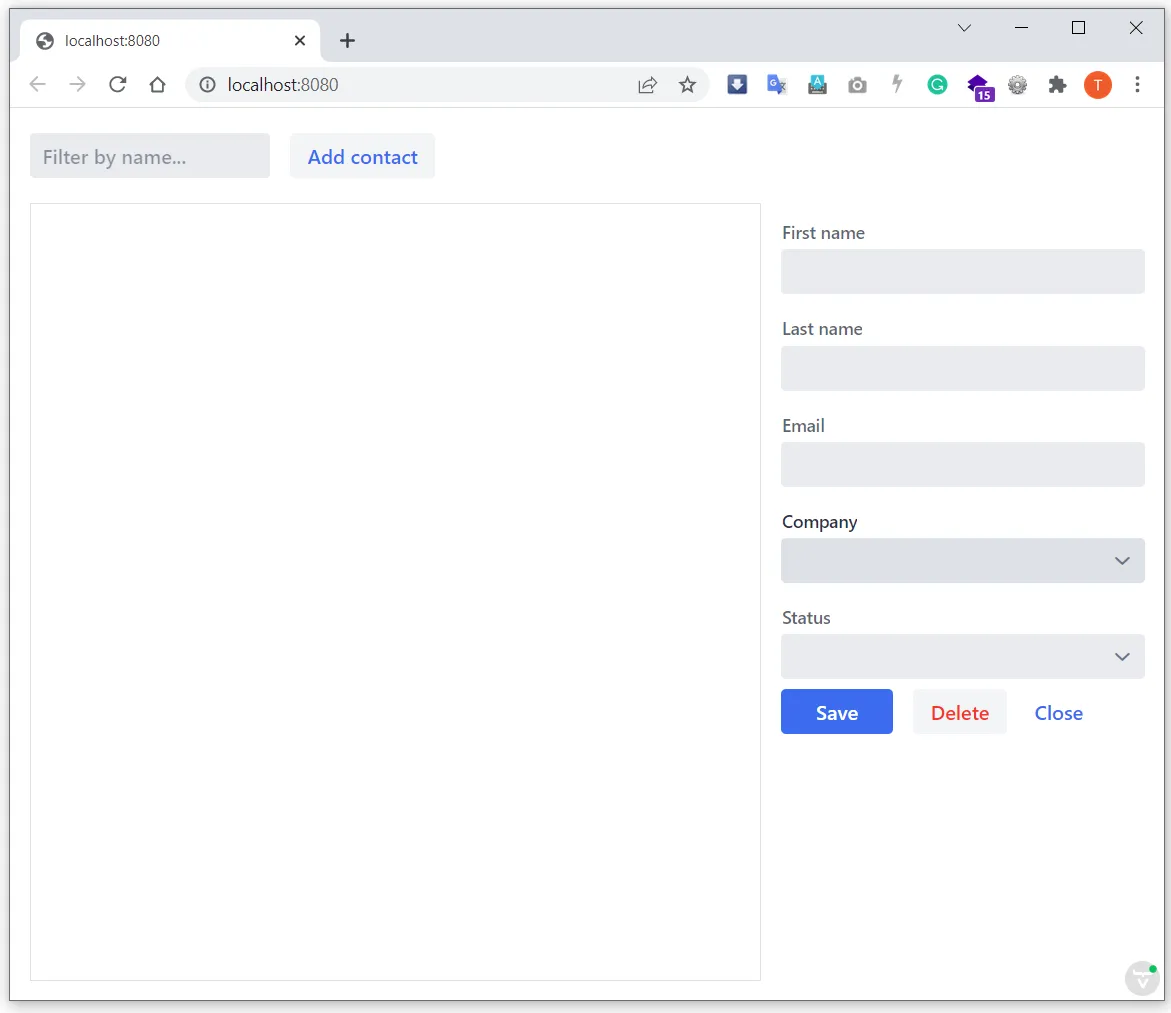
When the build is finished and the application is running.
Open http://localhost:8080/ in your browser to see the result.

Proceed to the next chapter to connect your views to Java: Connecting your Main View to Java.
352A2D38-BC01-4792-B894-427AFF303B88