Testing Vaadin with Unit and Integration Tests
- Creating and Running Unit Tests for Simple UI Logic
- Creating and Running Integration Tests for More Advanced UI Logic
It’s a common best practice to test as little code as possible in a single test. In this way, when things go wrong, only relevant tests fail. For UI testing, there are three main approaches:
-
Unit tests: for simple UI logic.
-
Integration tests: for more advanced UI logic.
-
End-to-end tests: to test what the user sees.
You can run unit and integration tests standalone, that is, without any external dependencies, such as a running server or database.
End-to-end tests require the application to be deployed and are run in a browser window to simulate an actual user.
In this chapter, you write and run unit and integration tests. The tutorial covers end-to-end tests in the next chapter.
Creating and Running Unit Tests for Simple UI Logic
The most minimal way of testing is to create a plain Java unit test.
This only works with UI classes with no dependencies, no auto-wiring, etc.
For the ContactForm, you can create a unit test to verify that the form fields are correctly populated, based on the given bean.
|
Note
|
Put tests in the correct folder
All test classes should go in the test folder, |
Create a new folder, src/test/java.
In IntelliJ, right-click on the folder and select Mark Directory as > Test Sources Root.
In the new folder, create a new package, com.example.application.views.list, and add a new ContactFormTest.java file with the following code.
Source code
ContactFormTest.java
ContactFormTest.javapackage com.example.application.views.list;
import com.example.application.data.entity.Company;
import com.example.application.data.entity.Contact;
import com.example.application.data.entity.Status;
import java.util.ArrayList;
import java.util.List;
import java.util.concurrent.atomic.AtomicReference;
import static org.junit.jupiter.api.Assertions.assertEquals;
import org.junit.jupiter.api.BeforeEach;
import org.junit.jupiter.api.Test;
public class ContactFormTest {
private List<Company> companies;
private List<Status> statuses;
private Contact marcUsher;
private Company company1;
private Company company2;
private Status status1;
private Status status2;
@BeforeEach 1
public void setupData() {
companies = new ArrayList<>();
company1 = new Company();
company1.setName("Vaadin Ltd");
company2 = new Company();
company2.setName("IT Mill");
companies.add(company1);
companies.add(company2);
statuses = new ArrayList<>();
status1 = new Status();
status1.setName("Status 1");
status2 = new Status();
status2.setName("Status 2");
statuses.add(status1);
statuses.add(status2);
marcUsher = new Contact();
marcUsher.setFirstName("Marc");
marcUsher.setLastName("Usher");
marcUsher.setEmail("marc@usher.com");
marcUsher.setStatus(status1);
marcUsher.setCompany(company2);
}
}-
The
@BeforeEachannotation adds dummy data that is used for testing. This method is executed before each@Testmethod.
Now, add a test method that uses ContactForm:
Source code
ContactFormTest.java
ContactFormTest.java@Test
public void formFieldsPopulated() {
ContactForm form = new ContactForm(companies, statuses);
form.setContact(marcUsher); 1
assertEquals("Marc", form.firstName.getValue());
assertEquals("Usher", form.lastName.getValue());
assertEquals("marc@usher.com", form.email.getValue());
assertEquals(company2, form.company.getValue());
assertEquals(status1, form.status.getValue()); 2
}-
Validates that the fields are populated correctly, by first initializing the contact form with some companies, and then setting a contact bean for the form.
-
Uses standard JUnit
assertEquals()methods to compare the values from the fields available through theContactForminstance:
Similarly, test the "save" functionality of ContactForm.
Source code
ContactFormTest.java
ContactFormTest.java@Test
public void saveEventHasCorrectValues() {
ContactForm form = new ContactForm(companies, statuses);
Contact contact = new Contact();
form.setContact(contact); 1
form.firstName.setValue("John"); 2
form.lastName.setValue("Doe");
form.company.setValue(company1);
form.email.setValue("john@doe.com");
form.status.setValue(status2);
AtomicReference<Contact> savedContactRef = new AtomicReference<>(null);
form.addListener(ContactForm.SaveEvent.class, e -> {
savedContactRef.set(e.getContact()); 3
});
form.save.click(); 4
Contact savedContact = savedContactRef.get();
assertEquals("John", savedContact.getFirstName()); 5
assertEquals("Doe", savedContact.getLastName());
assertEquals("john@doe.com", savedContact.getEmail());
assertEquals(company1, savedContact.getCompany());
assertEquals(status2, savedContact.getStatus());
}-
Initialize the form with an empty
Contact. -
Populate values into the form.
-
Capture the saved contact into an
AtomicReference. -
Click the save button and read the saved contact.
-
Once the event data is available, verify that the bean contains the expected values.
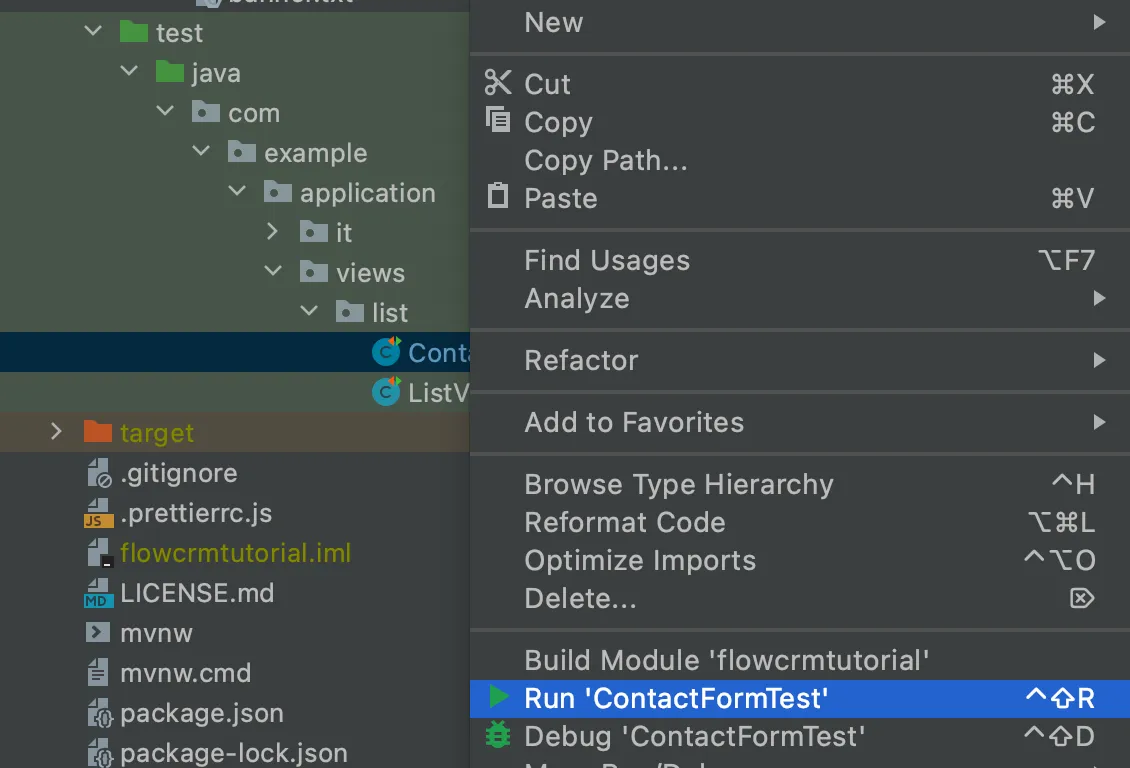
To run the unit test, right-click ContactFormTest and select Run 'ContactFormTest'.
When the test finishes, you see the results at the bottom of the IDE window in the test-runner panel. As you can see, both tests passed.

Creating and Running Integration Tests for More Advanced UI Logic
To test a class that uses @Autowire, a database, or any other feature provided by Spring Boot, you can no longer use plain JUnit tests.
Instead, you can use the Spring Boot test runner.
This does add a little overhead, but it makes more features available to your test.
To set up a unit test for ListView, create a new file, ListViewTest, in the com.example.application.views.list package:
Source code
ListViewTest.java
ListViewTest.javapackage com.example.application.views.list;
import static org.junit.jupiter.api.Assertions.assertEquals;
import static org.junit.jupiter.api.Assertions.assertFalse;
import static org.junit.jupiter.api.Assertions.assertTrue;
import org.junit.jupiter.api.Test;
import org.springframework.beans.factory.annotation.Autowired;
import org.springframework.boot.test.context.SpringBootTest;
@SpringBootTest 1
public class ListViewTest {
@Autowired
private ListView listView;
@Test
public void formShownWhenContactSelected() {
}
}-
The
@SpringBootTestannotation makes sure that the Spring Boot application is initialized before the tests are run and allows you to use the@Autowiredannotation in the test.
In the ListView class:
-
Add the Spring
@Componentannotation to make it possible to@Autowireit. -
Also add
@Scope("prototype")to ensure that every test run gets a fresh instance.
|
Note
|
The annotation isn’t needed for normal application runs
You don’t need to add the annotation for normal application usage, as all |
Source code
ListView.java
ListView.java@Component
@Scope("prototype")
@Route(value = "", layout = MainLayout.class)
@PageTitle("Contacts | Vaadin CRM")
@PermitAll
public class ListView extends VerticalLayout {
Grid<Contact> grid = new Grid<>(Contact.class);
TextField filterText = new TextField();
ContactForm form;
CrmService service;
// rest omitted
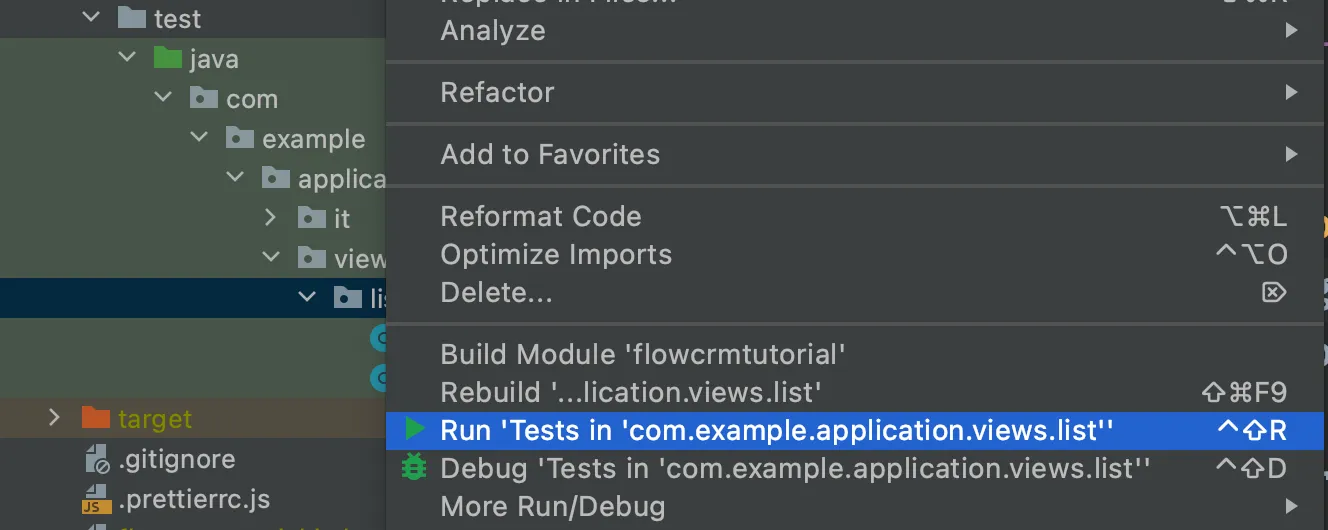
}Right-click the package that contains both tests, and select Run tests in 'com.example.application.views.list'. You should see that both test classes run and result in three successful tests.

|
Note
|
Integration tests take longer to run
You probably noticed that running the tests the second time took much longer.
This is the price of being able to use Options for improving the startup time include:
Pivotal’s Spring Boot Testing Best Practices has tips to speed up your tests. |
You can now add the actual test implementation, which selects the first row in the grid and validates that this shows the form with the selected Contact:
Source code
ListViewTest.java
ListViewTest.java@Test
public void formShownWhenContactSelected() {
Grid<Contact> grid = listView.grid;
Contact firstContact = getFirstItem(grid);
ContactForm form = listView.form;
assertFalse(form.isVisible());
grid.asSingleSelect().setValue(firstContact);
assertTrue(form.isVisible());
assertEquals(firstContact.getFirstName(), form.firstName.getValue());
}
private Contact getFirstItem(Grid<Contact> grid) {
return( (ListDataProvider<Contact>) grid.getDataProvider()).getItems().iterator().next();
}The test verifies that the form logic works by:
-
asserting that the form is initially hidden;
-
selecting the first item in the grid and verifying that:
-
the form is visible;
-
the form is bound to the correct
Contactby ensuring that the right name is visible in the field.
-
Rerun the tests. They should all pass.
You now know how to test the application logic both in isolation with unit tests and by injecting dependencies to test the integration between several components. In the next chapter, the tutorial covers how to test the entire application in the browser.
If your components depend on UI.getCurrent(), UI.navigate(), and similar, you may need to fake or mock the Vaadin environment for those tests to pass.
For further information on how to achieve that, you can take a look at UI Unit Testing in Vaadin TestBench or the open source Karibu-Testing project.

Source code
render-banner.ts
render-banner.ts
76D89DA1-B104-4745-8D51-9589846051C8