
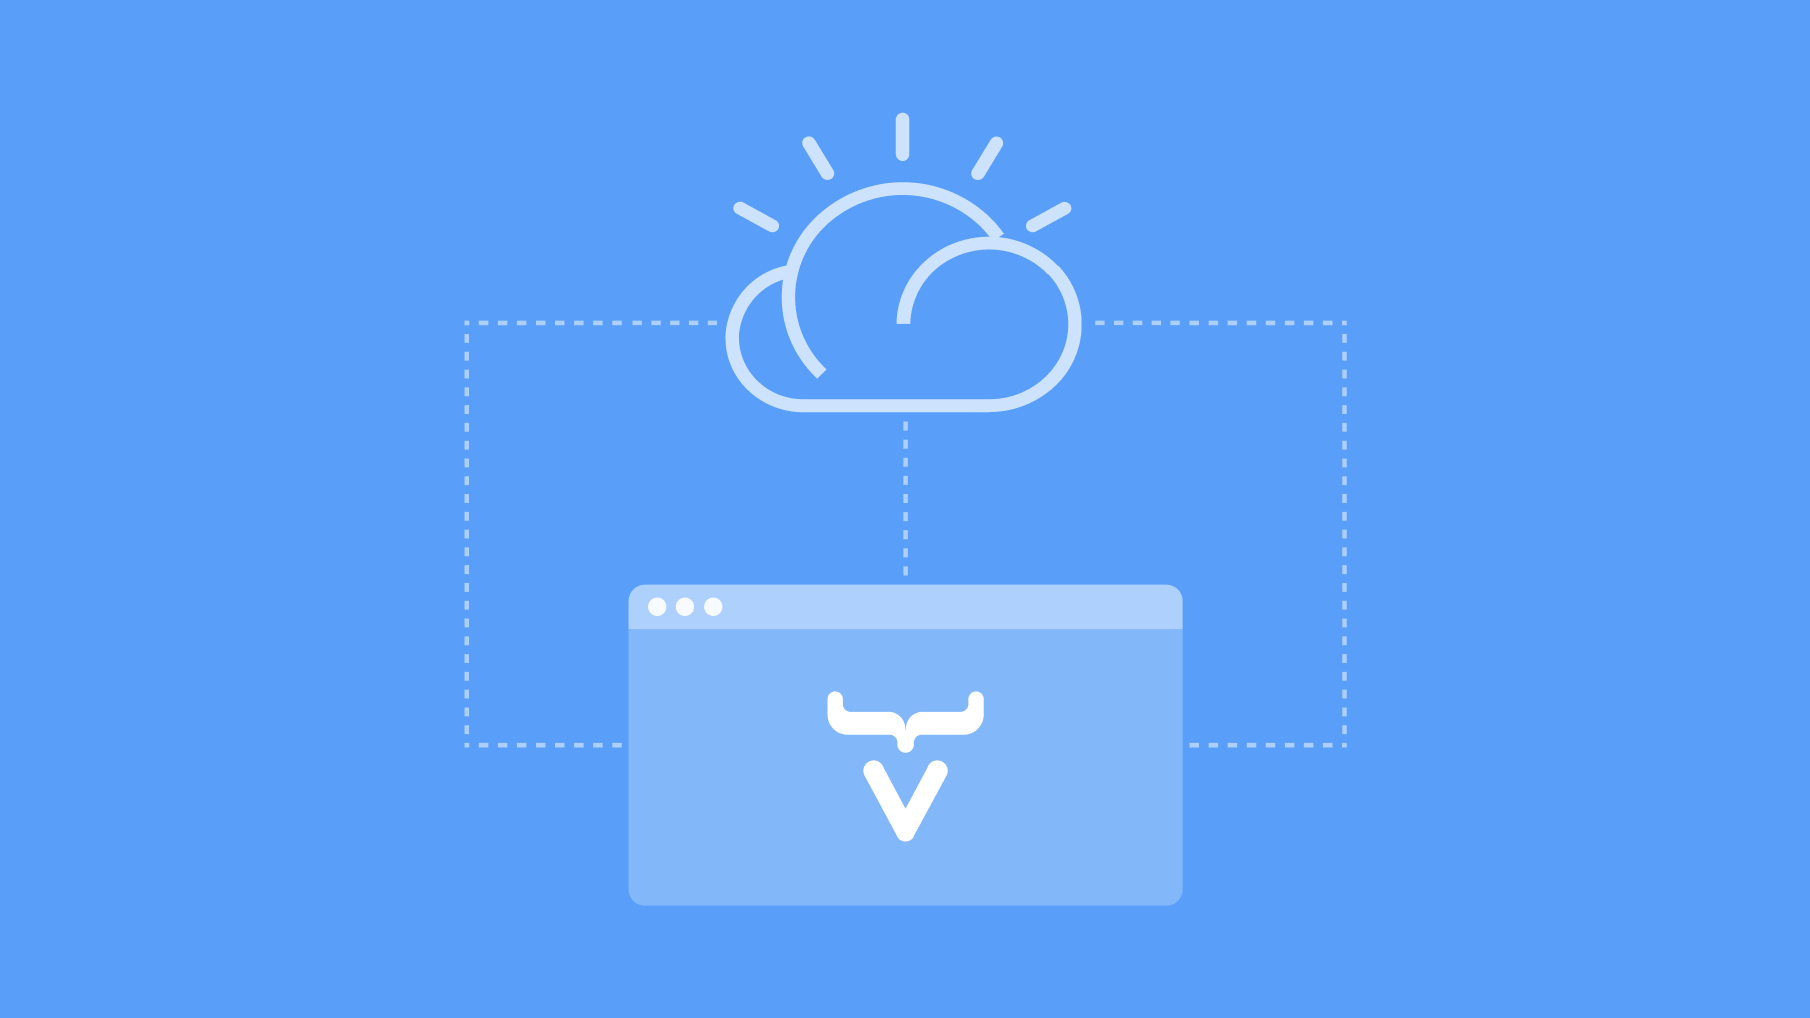
 This tutorial shows you how to deploy a Vaadin application to IBM Cloud. IBM Cloud offers a free Kubernetes Cluster, that expires after 30 days but can be re-provisioned. You can find details of their free and commercial services on the IBM Cloud website.
Free IBM Cloud account required
To complete this tutorial, you need an IBM Cloud account. You can create your account on https://www.ibm.com/cloud for free.
Step 1: Install IBM Cloud CLI and required plugins
You can find installation instructions for different platforms in IBM Cloud CLI documentation. After installing ibmcloud cli please install the container-registry plugin be running the command:
ibmcloud plugin install container-registry
and kubernetes-service plugin by running the command:
ibmcloud plugin install kubernetes-service
Step 2: Install Docker and Kubernetes
You can find docker installation instructions for different platforms on https://docs.docker.com/get-docker/.
After installing docker please proceed with installation of kubectl. You can find kubectl installation instructions on https://kubernetes.io/docs/tasks/tools/.
Step 3: Download a Starter App
Download a minimal Vaadin project and unpack the downloaded zip into a folder on your computer.
Step 4: Create a Production Build
Open the project directory from a terminal window, and enter the following command to generate a JAR file of your application:
mvn package -Pproduction
Step 5: Create a Docker image
Create a Dockerfile (i.e. a file named “Dockerfile”) in the root folder of your project with the following content:
FROM openjdk:11
RUN mkdir /opt/app
COPY /target/ myapp-1.0-SNAPSHOT.jar /opt/app/myapp.jar
CMD ["java", "-jar", "/opt/app/myapp.jar"]
And run the following command:
docker build -t myapp .
At this point you should have the docker image containing your application. You can test whether your image works by running the following command to deploy it to docker locally:
docker run -p 8080:8080 -it myapp
Step 6: Push the image to your container registry on IBM Cloud
You need to first push the image to the private container registry on IBM Cloud, from which it can be pulled by a Kubernetes cluster. This tutorial assumes that you will deploy your image to a repository in Germany (i.e. de.icr.io). Please note that depending of the location this URL may differ.
Now, run following command:
ibmcloud login
Please enter your credentials:
ibmcloud cr namespace-add vaadin
ibmcloud cr login
docker push de.icr.io/vaadin/myapp:1
Step 7: Provision a Kubernetes Cluster on IBM Cloud
On IBM Cloud’s dashboard please click on the blue “Create Resource” button and enter in the search field “Kubernetes Service”. Once you click on the Kubernetes Service button you will be redirected to Kubernetes cluster provisioning page. When provisioning your cluster you can pick the “Free” Pricing Plan. Take note of the name of your Kubernetes cluster as you will need to enter it in Step 9.
Step 8: Deploy your application to Kubernetes Cluster
Prepare your deployment YAML file (i.e. named “deployment.yaml”)
apiVersion: apps/v1
kind: Deployment
metadata:
  name: myapp-deployment
spec:
  replicas: 1
  selector:
    matchLabels:
      app: myapp
  template:
    metadata:
      labels:
        app: myapp
    spec:
      containers:
      - name: myapp-container
        image: de.icr.io/vaadin/myapp:1
Make sure you are logged in to IBM Cloud using the ibmcloud cli. Please run following commands using the name of your cluster instead of “mycluster-fra05-u3c.2x4”
ibmcloud ks cluster pull-secret apply --cluster mycluster-fra05-u3c.2x4
ibmcloud ks cluster config --cluster mycluster-fra05-u3c.2x4
Now apply the deployment.yaml file you created:
kubectl apply -f deployment.yaml
And as the last step expose the port 8080:
kubectl expose deployment myapp-deployment --type=NodePort --name=myapp-service --port=8080
Use the Kubernetes dashboard (or Kubernetes commands) to read the external IP address and the node port of your deployment.
At this point you can reach your application by visiting the URL
http://<external-ip-address>:<nodeport>/